If you’ve been visiting and reading lately, you might have noticed that I’ve updated a couple of reviews here. Those for PARKS and Nemo’s War got republished, because I’ve added a video review to each of them. These have been my first, tentative steps into video and YouTube, so I thought I’d write a quick update to share my learning for anyone else thinking of doing the same.
Why Bother?
That’s the first question I asked myself. Is there really any point in making videos? Primarily, so far, I’ve enjoyed writing reviews and adding photos. I’m not in this for fame and glory etc etc, but it’s a nice idea to be well-received and have your viewpoint respected. There’s a lot of competition around for board game reviewing, and the majority make videos. I’ve never made a proper video before, so I thought this might sate my appetite for learning something new, and maybe help with getting known.
Where To Start?
This was the first question I had to ask myself. I didn’t want to spend much money on something I might not get on well with, so my first goal was getting started on the cheap. With that in mind, this is the hardware and software I opted for, and have used for both reviews so far:
- Softbox – I bought a softbox for lighting from eBay. A softbox is a very bright lamp on a stand with a diffuser in front of it. It adds lots of light to a scene without casting strong shadows.
- Camera – I didn’t want to spend a lot of money on a camera, so I learned how to use the one on my phone. It’s pretty decent, an Honor 20 with a 4K rear camera, so for now it was both reasonable quality, and didn’t cost me anything.
- Tripod – I bought a cheap, lightweight tripod from Amazon, along with a phone mount, to hold my phone during filming.
- Lavalier microphone – audio is so important in videos, that’s what my research and personal opinion taught me, so I spent around £15 on a lapel lavalier mic.
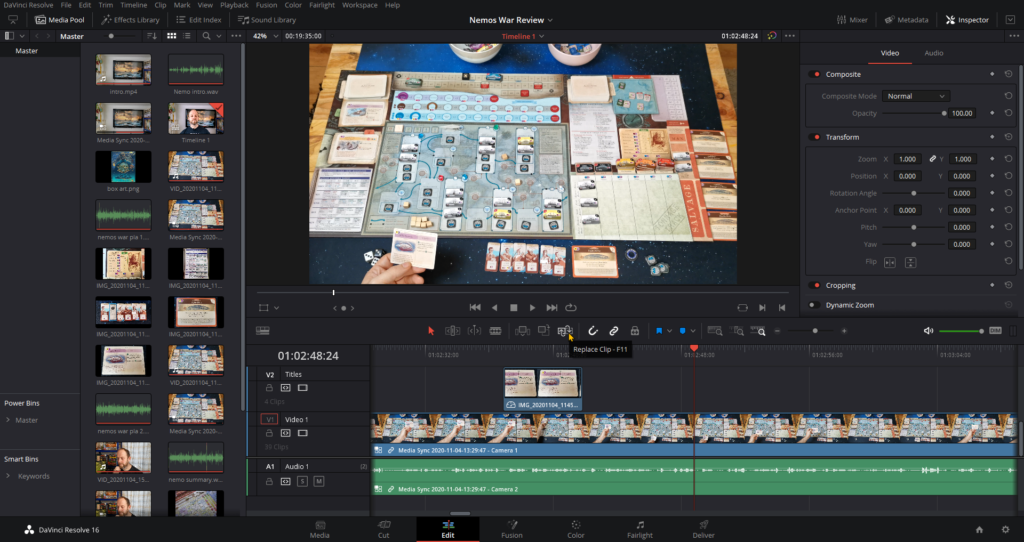
- Editing software – Davinci Resolve is amazing video-editing software, and you can get it for free. There’s quite a learning curve, but a vast amount of tutorials and resources on YouTube and their own forums.
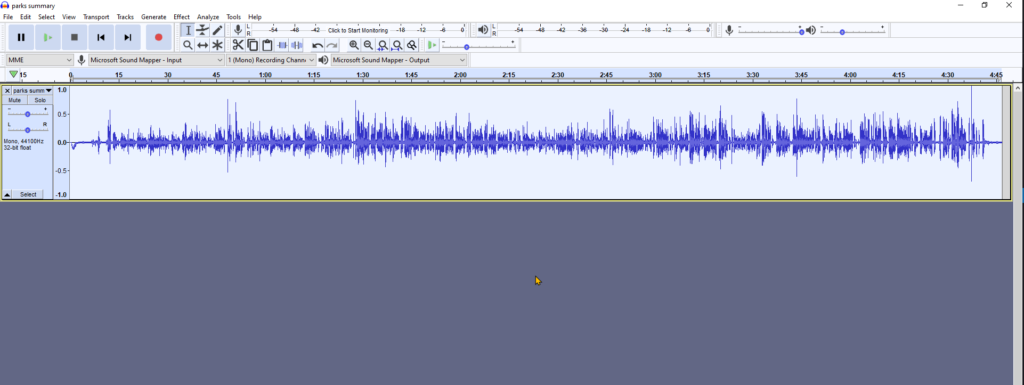
- Audio editing – another freebie here, the veteran Audacity. Again, it’s worth finding some tutorials, but the results are worth it if you need to do lots of audio clean-up.

From there, I decided the best thing to do was to dive in headfirst and start filming. I wrote a basic list of the shots I wanted, and things I wanted to say in Simplenote, and got going.
It’s Not Easy
Those three words sum up my experiences in filming the first review, PARKS. I made a lot of mistakes, and learned a lot of lessons. I must have re-shot the main gameplay video and introduction at least five times each, for a variety of reasons. Out-of-focus video, using the wrong mic, bad lighting direction causing reflection off the game, hitting the table and shaking the camera, using the wrong lens on the phone. Not to mention nerves and stumbling over my words far too often.
In the end, I did manage to create something I wasn’t entirely unhappy with, but I had a long list of things I wanted to do differently for the next video.
[yotuwp type=”videos” id=”BAa_mnekNAs” ]
Take Two
I went into the filming of the Nemo’s War video armed with a lot better idea of what worked and what didn’t for me. It took me way too long to get the footage I needed, and started thinking about why.
[yotuwp type=”videos” id=”ARHXpFkTikU” ]
I re-shot so many things, so looked at the causes. Bad lighting, bad focus, stumbling over words, that sort of thing. I also spent so long trying to sort out the audio. I realised what I needed to improve was my workflow. Once I realised that, I set out to improve it and it worked, the shooting for Nemo took a fraction of the time. Here’s what I changed.
Storyboard
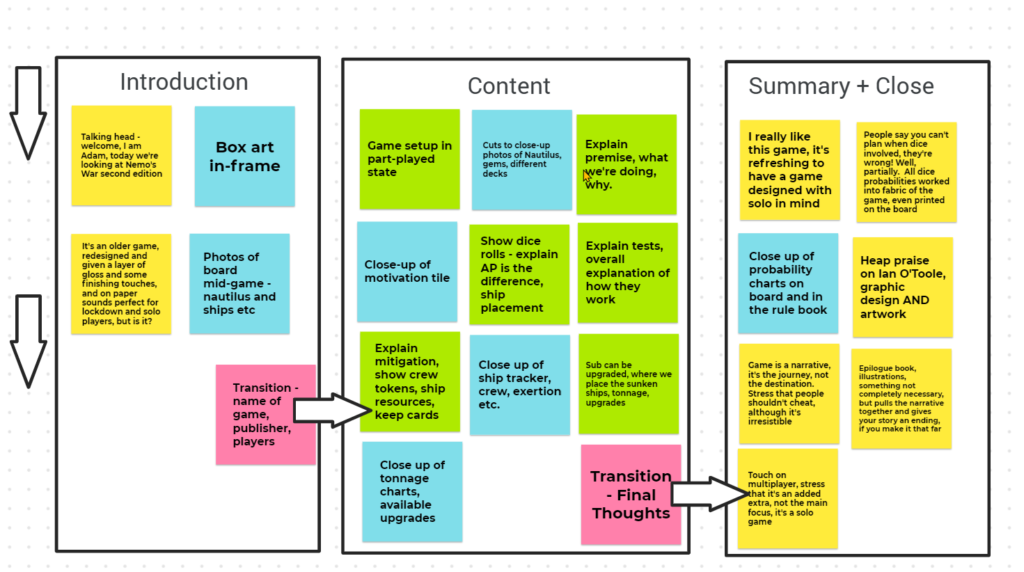
I needed a more visual way to lay out what I wanted to film and to say, and Simplenote – while amazing for lists and other planning – just didn’t do it for me. I use lots of planning boards in my job, so I went with something similar to that – Google Jamboard. It’s the equivalent of having a whiteboard and a load of post-it notes, and it really helped me sort myself out.

Workflow
I’m forced to record my audio and video separately at the moment, as my phone (despite many adapters) does not want to recognise my lav mic as an external microphone. For the first video I shot video and recorded audio at the same time, then started editing the audio before anything else. What that meant however, is that I ended up chopping tons of little pauses and noises out.
Davinci Resolve has an amazing tool to sync a video and audio track automatically, but that only works if they both have roughly the same audio. You can see where I’m going with this… By the time I’d edited my audio I had to make so many cuts to my video to get it to all match up. I didn’t need to dive in as deep as I did with the audio, compressing and normalising it all before getting it into Resolve. Resolve has plenty of good audio tools, I just need to get more familiar with it.

Improvement
Just by making those couple of changes, the whole experience was much better for me. It was less stressful, not as disheartening, and much, much smoother. It’s hard to quantify exactly how much difference it made, but it took me far less time from having all the raw footage to having a rendered video uploading to YouTube.
I’m much happier with the second video, but very grateful to the first for what I learned. I’ve still got a long way to go before I’m properly happy with it, but I hope for more incremental improvement as I go now. There you have it, a bit of a ramble I know, but that’s where I am now, with a whole three (count ’em!) subscribers.
